Two-Week Timetable Template
Sale Price:
£0.00
Original Price:
£2.00
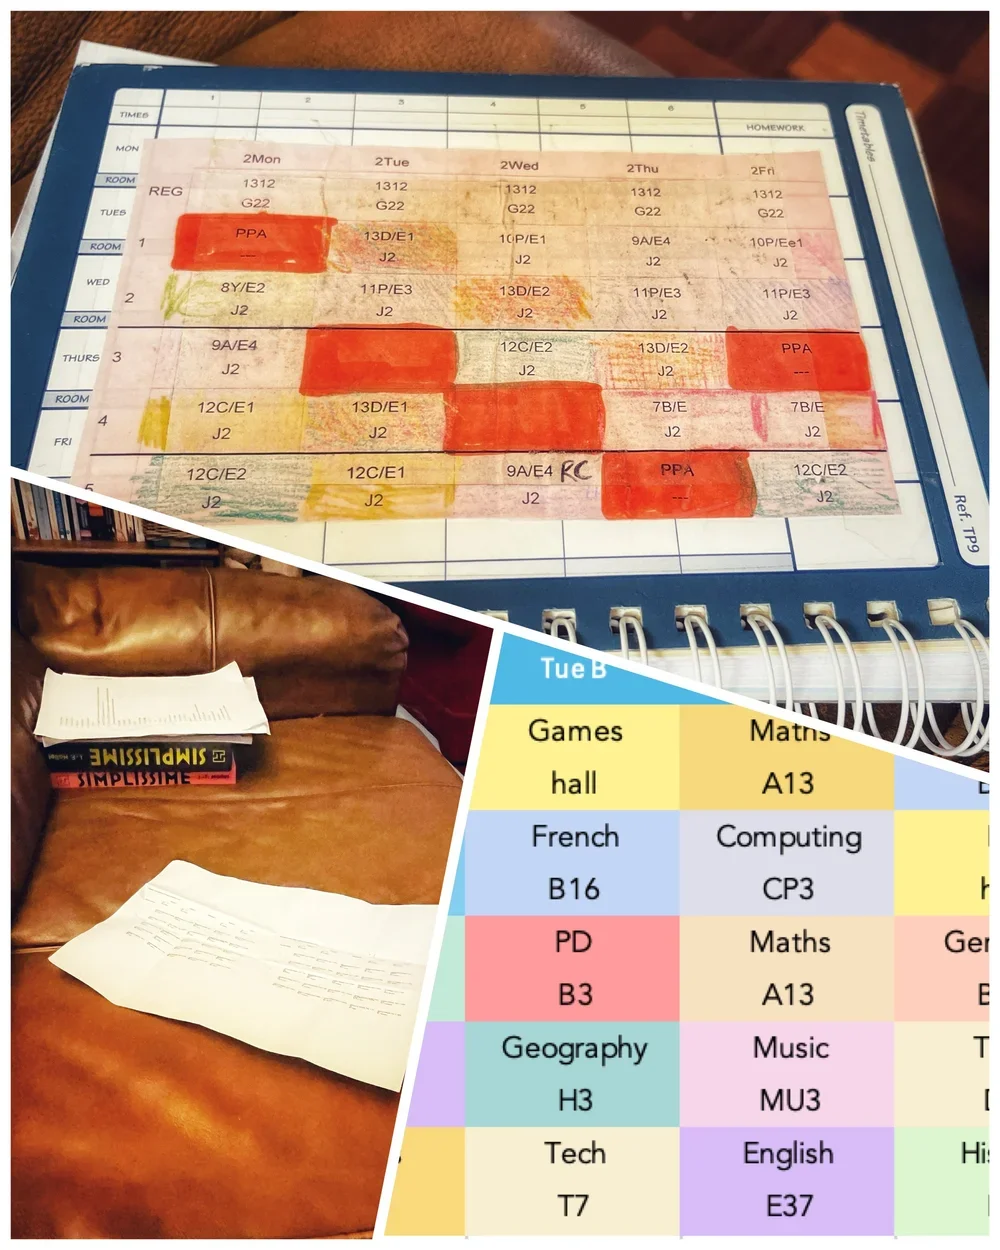
My son's Year 7 timetable came home in a print size we had to enlarge on a laptop before either of us could read it. Both weeks were squeezed into one small block, with most of the page left blank around it.
He was then asked to copy it into his planner by hand. His handwriting is already hard to read, so what he ended up with was a timetable he couldn't use on a Monday morning. It reminded me of my own teaching days in a secondary school, where the timetables we handed out weren't pretty - mine had my wobbly colouring-in all over it - but they used the whole sheet of A4, and a child could read one at arm's length. So I rebuilt his in Excel over a weekend, and made a blank version any family can fill in.
What's included
One Excel file (.xlsx) with two sheets.
• The full-page version. Week A and Week B side by side, five periods a day, with a second line under each subject for the room number. Day headings and period labels are set at 22pt and the subject entries at 12pt.
• A mini version. The same two weeks stacked one above the other in a compact grid, for printing small.
• A subject key alongside the full-page grid: fifteen colour-filled rows, with space next to each for the teacher's name.
• One entry filled in as an example - 'English', with the room 'E37' on the line below. Everything else is blank.
• The colours are ordinary cell fills, so you can change any of them, and add or remove subjects.
Both sheets are set up for A4 portrait.
For personal and family use only.
Who it's for
I made it for a Year 7 with a two-week timetable, but it suits any year group:
• families whose child has come home with a timetable too small to read
• children who have been asked to copy a timetable into a planner by hand
• dyslexic learners, and anyone who finds a dense grid hard to hold in mind
• anyone who wants the week somewhere the whole household can see it - a fridge, a planner, a bag
• home educators keeping a repeating two-week pattern written down
• students who would rather have their own version than the school's
It won't suit every school. The grid is fixed at five periods a day across five days, on a two-week A and B pattern - if your school runs six periods, or a three-week rotation, you'll be adding rows and columns in Excel yourself. You'll also need Excel, or another program that opens .xlsx files. This isn't a PDF, because the whole point of it is that you type into it.
Why this exists
I first made this for my dyslexic son. The school's version wasn't badly made. It was printed at a size that assumed the reader has no trouble with small dense print, and then given to a child who does. Copying it out by hand made it worse rather than better, because the copy was in his own handwriting.
The template doesn't do anything complicated. A bigger grid, one colour per subject, and room for the teacher's name. The difference is whether a child can check for himself what's next, without having to ask.
Ways to use it
• Glue a printed copy straight into a planner.
• Print a smaller laminated version, hole-punch it, and keep it on a key ring.
• Use the extra space to record teacher names in a matching colour-coded list.
Available now as a free download.
My son's Year 7 timetable came home in a print size we had to enlarge on a laptop before either of us could read it. Both weeks were squeezed into one small block, with most of the page left blank around it.
He was then asked to copy it into his planner by hand. His handwriting is already hard to read, so what he ended up with was a timetable he couldn't use on a Monday morning. It reminded me of my own teaching days in a secondary school, where the timetables we handed out weren't pretty - mine had my wobbly colouring-in all over it - but they used the whole sheet of A4, and a child could read one at arm's length. So I rebuilt his in Excel over a weekend, and made a blank version any family can fill in.
What's included
One Excel file (.xlsx) with two sheets.
• The full-page version. Week A and Week B side by side, five periods a day, with a second line under each subject for the room number. Day headings and period labels are set at 22pt and the subject entries at 12pt.
• A mini version. The same two weeks stacked one above the other in a compact grid, for printing small.
• A subject key alongside the full-page grid: fifteen colour-filled rows, with space next to each for the teacher's name.
• One entry filled in as an example - 'English', with the room 'E37' on the line below. Everything else is blank.
• The colours are ordinary cell fills, so you can change any of them, and add or remove subjects.
Both sheets are set up for A4 portrait.
For personal and family use only.
Who it's for
I made it for a Year 7 with a two-week timetable, but it suits any year group:
• families whose child has come home with a timetable too small to read
• children who have been asked to copy a timetable into a planner by hand
• dyslexic learners, and anyone who finds a dense grid hard to hold in mind
• anyone who wants the week somewhere the whole household can see it - a fridge, a planner, a bag
• home educators keeping a repeating two-week pattern written down
• students who would rather have their own version than the school's
It won't suit every school. The grid is fixed at five periods a day across five days, on a two-week A and B pattern - if your school runs six periods, or a three-week rotation, you'll be adding rows and columns in Excel yourself. You'll also need Excel, or another program that opens .xlsx files. This isn't a PDF, because the whole point of it is that you type into it.
Why this exists
I first made this for my dyslexic son. The school's version wasn't badly made. It was printed at a size that assumed the reader has no trouble with small dense print, and then given to a child who does. Copying it out by hand made it worse rather than better, because the copy was in his own handwriting.
The template doesn't do anything complicated. A bigger grid, one colour per subject, and room for the teacher's name. The difference is whether a child can check for himself what's next, without having to ask.
Ways to use it
• Glue a printed copy straight into a planner.
• Print a smaller laminated version, hole-punch it, and keep it on a key ring.
• Use the extra space to record teacher names in a matching colour-coded list.
Available now as a free download.